Why use Partytown?
Partytown is a JavaScript library that relocates resource-intensive third-party scripts (like analytics or ads) into a web worker, reducing the load on the main thread. This optimization improves website performance by ensuring that the main thread focuses solely on essential website code, leading to smoother user interactions and faster rendering
In this guide, we will focus on adding Google Analytics to your Astro project using Partytown, a web worker integration.
Installation
Astro includes an astro add command to automate the setup of official integrations
pnpm astro add partytownManual Install
To begin, install the Astro integration for Partytown:
pnpm add @astrojs/partytownThen, apply the integration to your astro.config.* file using the integrations property:
import { defineConfig } from 'astro/config';import partytown from '@astrojs/partytown';
export default defineConfig({  // Adds the Partytown integration to Astro  integrations: [partytown()],});
Configure for Google Analytics
Update the Partytown integration in your astro.config.* file with the following configuration options:
import { defineConfig } from 'astro/config';import partytown from '@astrojs/partytown';
export default defineConfig({  integrations: [    partytown({      config: {        // Add the "dataLayer.push" as a forwarding-event.        forward: ['dataLayer.push'],      },    }),  ],});
With this setup, Partytown sends all events to Google Analytics using window.dataLayer. For more details on configuration options, check out the Partytown documentation.
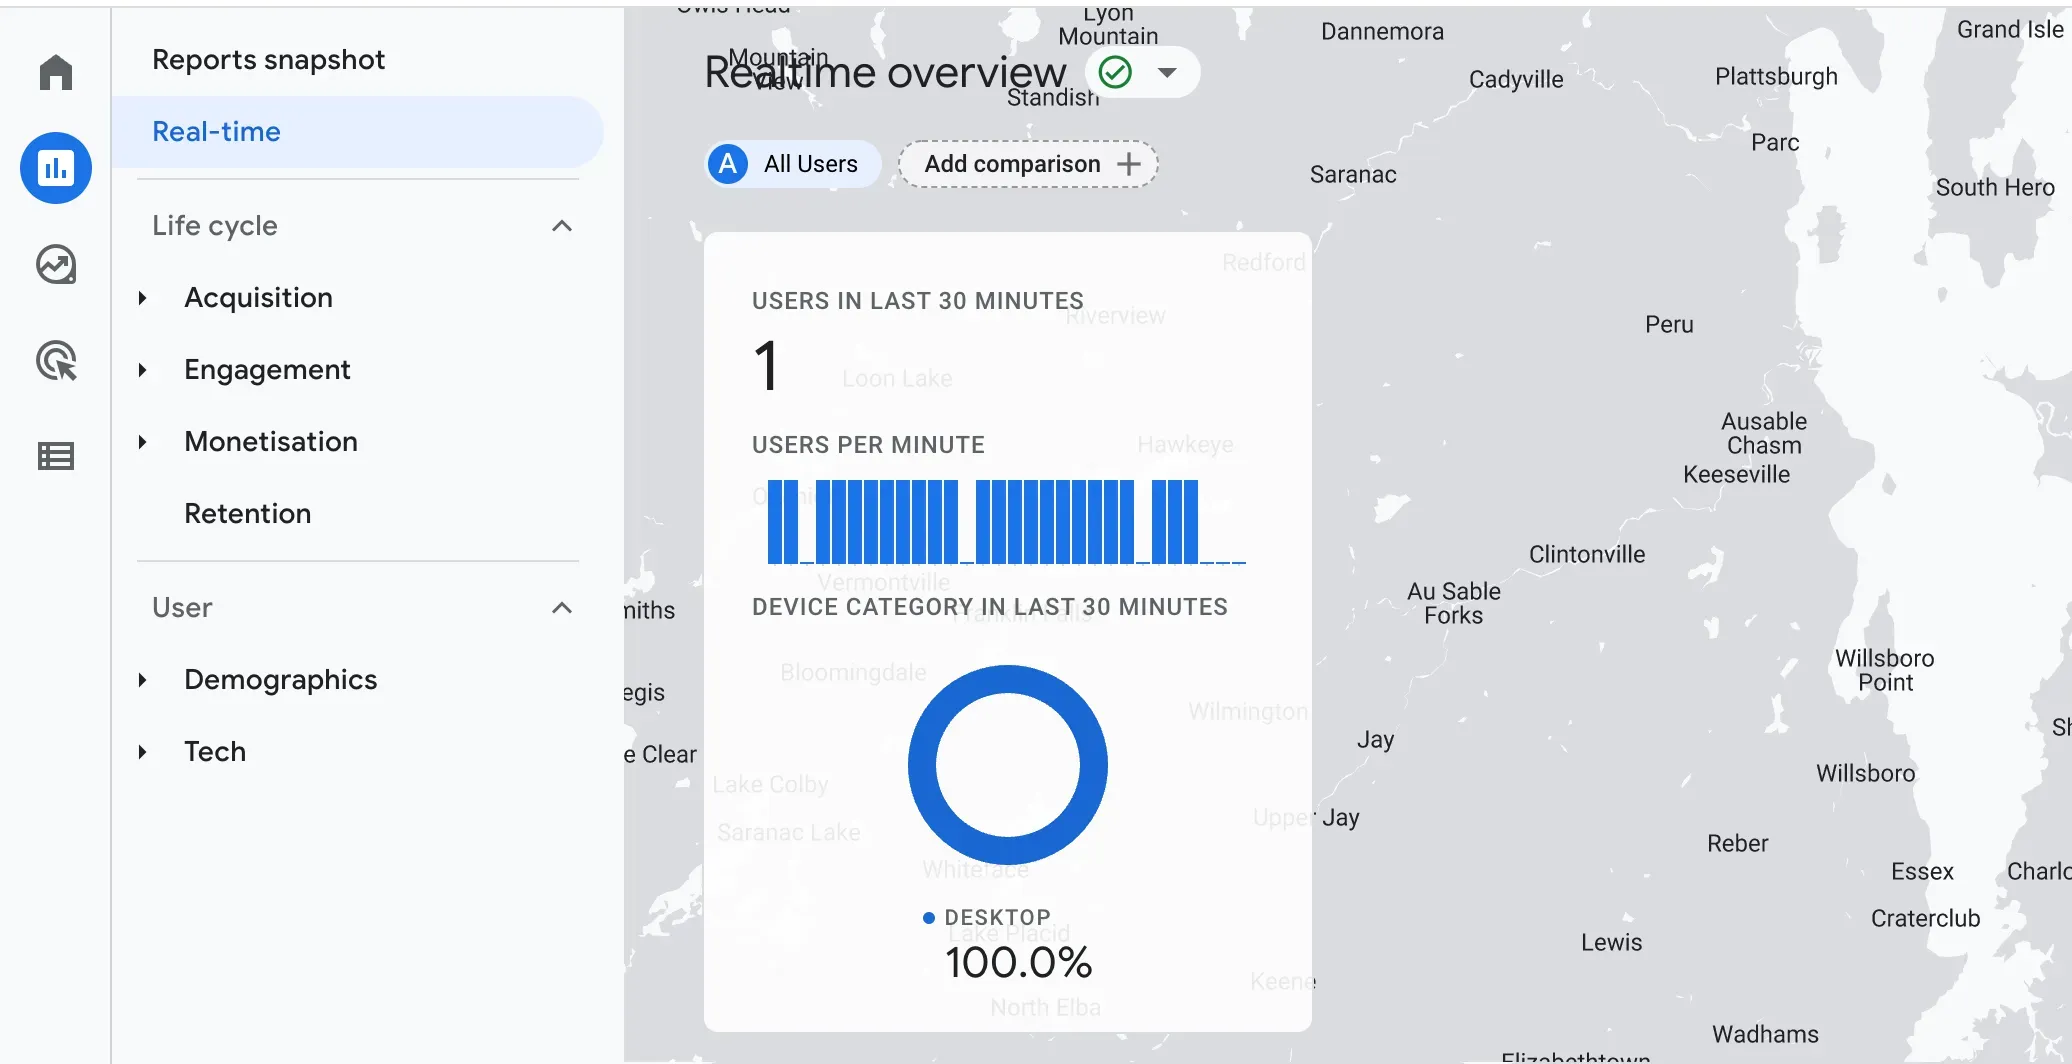
Create a Google Analytics account and get your tracking ID. Once you’ve created a new property for your domain, you can locate the tracking ID in the Property Settings.
![]()
Add the script tag
With Partytown integration installed and the Google Analytics tracking ID obtained, we can now move forward to configure our Google Analytics script.
Google Analytics will provide you with an inline script that will resemble the following:
// Global site tag (gtag.js) - Google Analytics<script async src="https://www.googletagmanager.com/gtag/js?id=GA_MEASUREMENT_ID"></script><script> window.dataLayer = window.dataLayer || []; function gtag() { window.dataLayer.push(arguments); } gtag('js', new Date()); gtag('config', 'GA_MEASUREMENT_ID');</script>To enable Partytown to execute Google Analytics within a web worker, follow these steps to modify the script:
- Replace
GA_MEASUREMENT_IDwith your tracking ID. - Include a
typeattribute and set it totext/partytownfor both script tags. This specifies to Partytown which script tags to manage.
After implementing these changes, your updated script will appear as follows:
<!-- head --><script type="text/partytown" src="https://www.googletagmanager.com/gtag/js?id=GA_MEASUREMENT_ID"></script><script type="text/partytown"> window.dataLayer = window.dataLayer || []; function gtag() { dataLayer.push(arguments); } gtag("js", new Date()); gtag("config", "GA_MEASUREMENT_ID");</script><!-- rest of head... -->Finally, place this code snippet in the head section of your Base Layout astro file. Remember to update GA_MEASUREMENT_ID with your tracking ID if you copy paste the code.
All done! You have now successfully added Google Analytics to your Astro project. Congratulations! 🎉
Testing
Once your project is deployed, check your Google Analytics account. You should see recent activity shortly after visiting your website.